
Inking The Mad Wizard’s Map
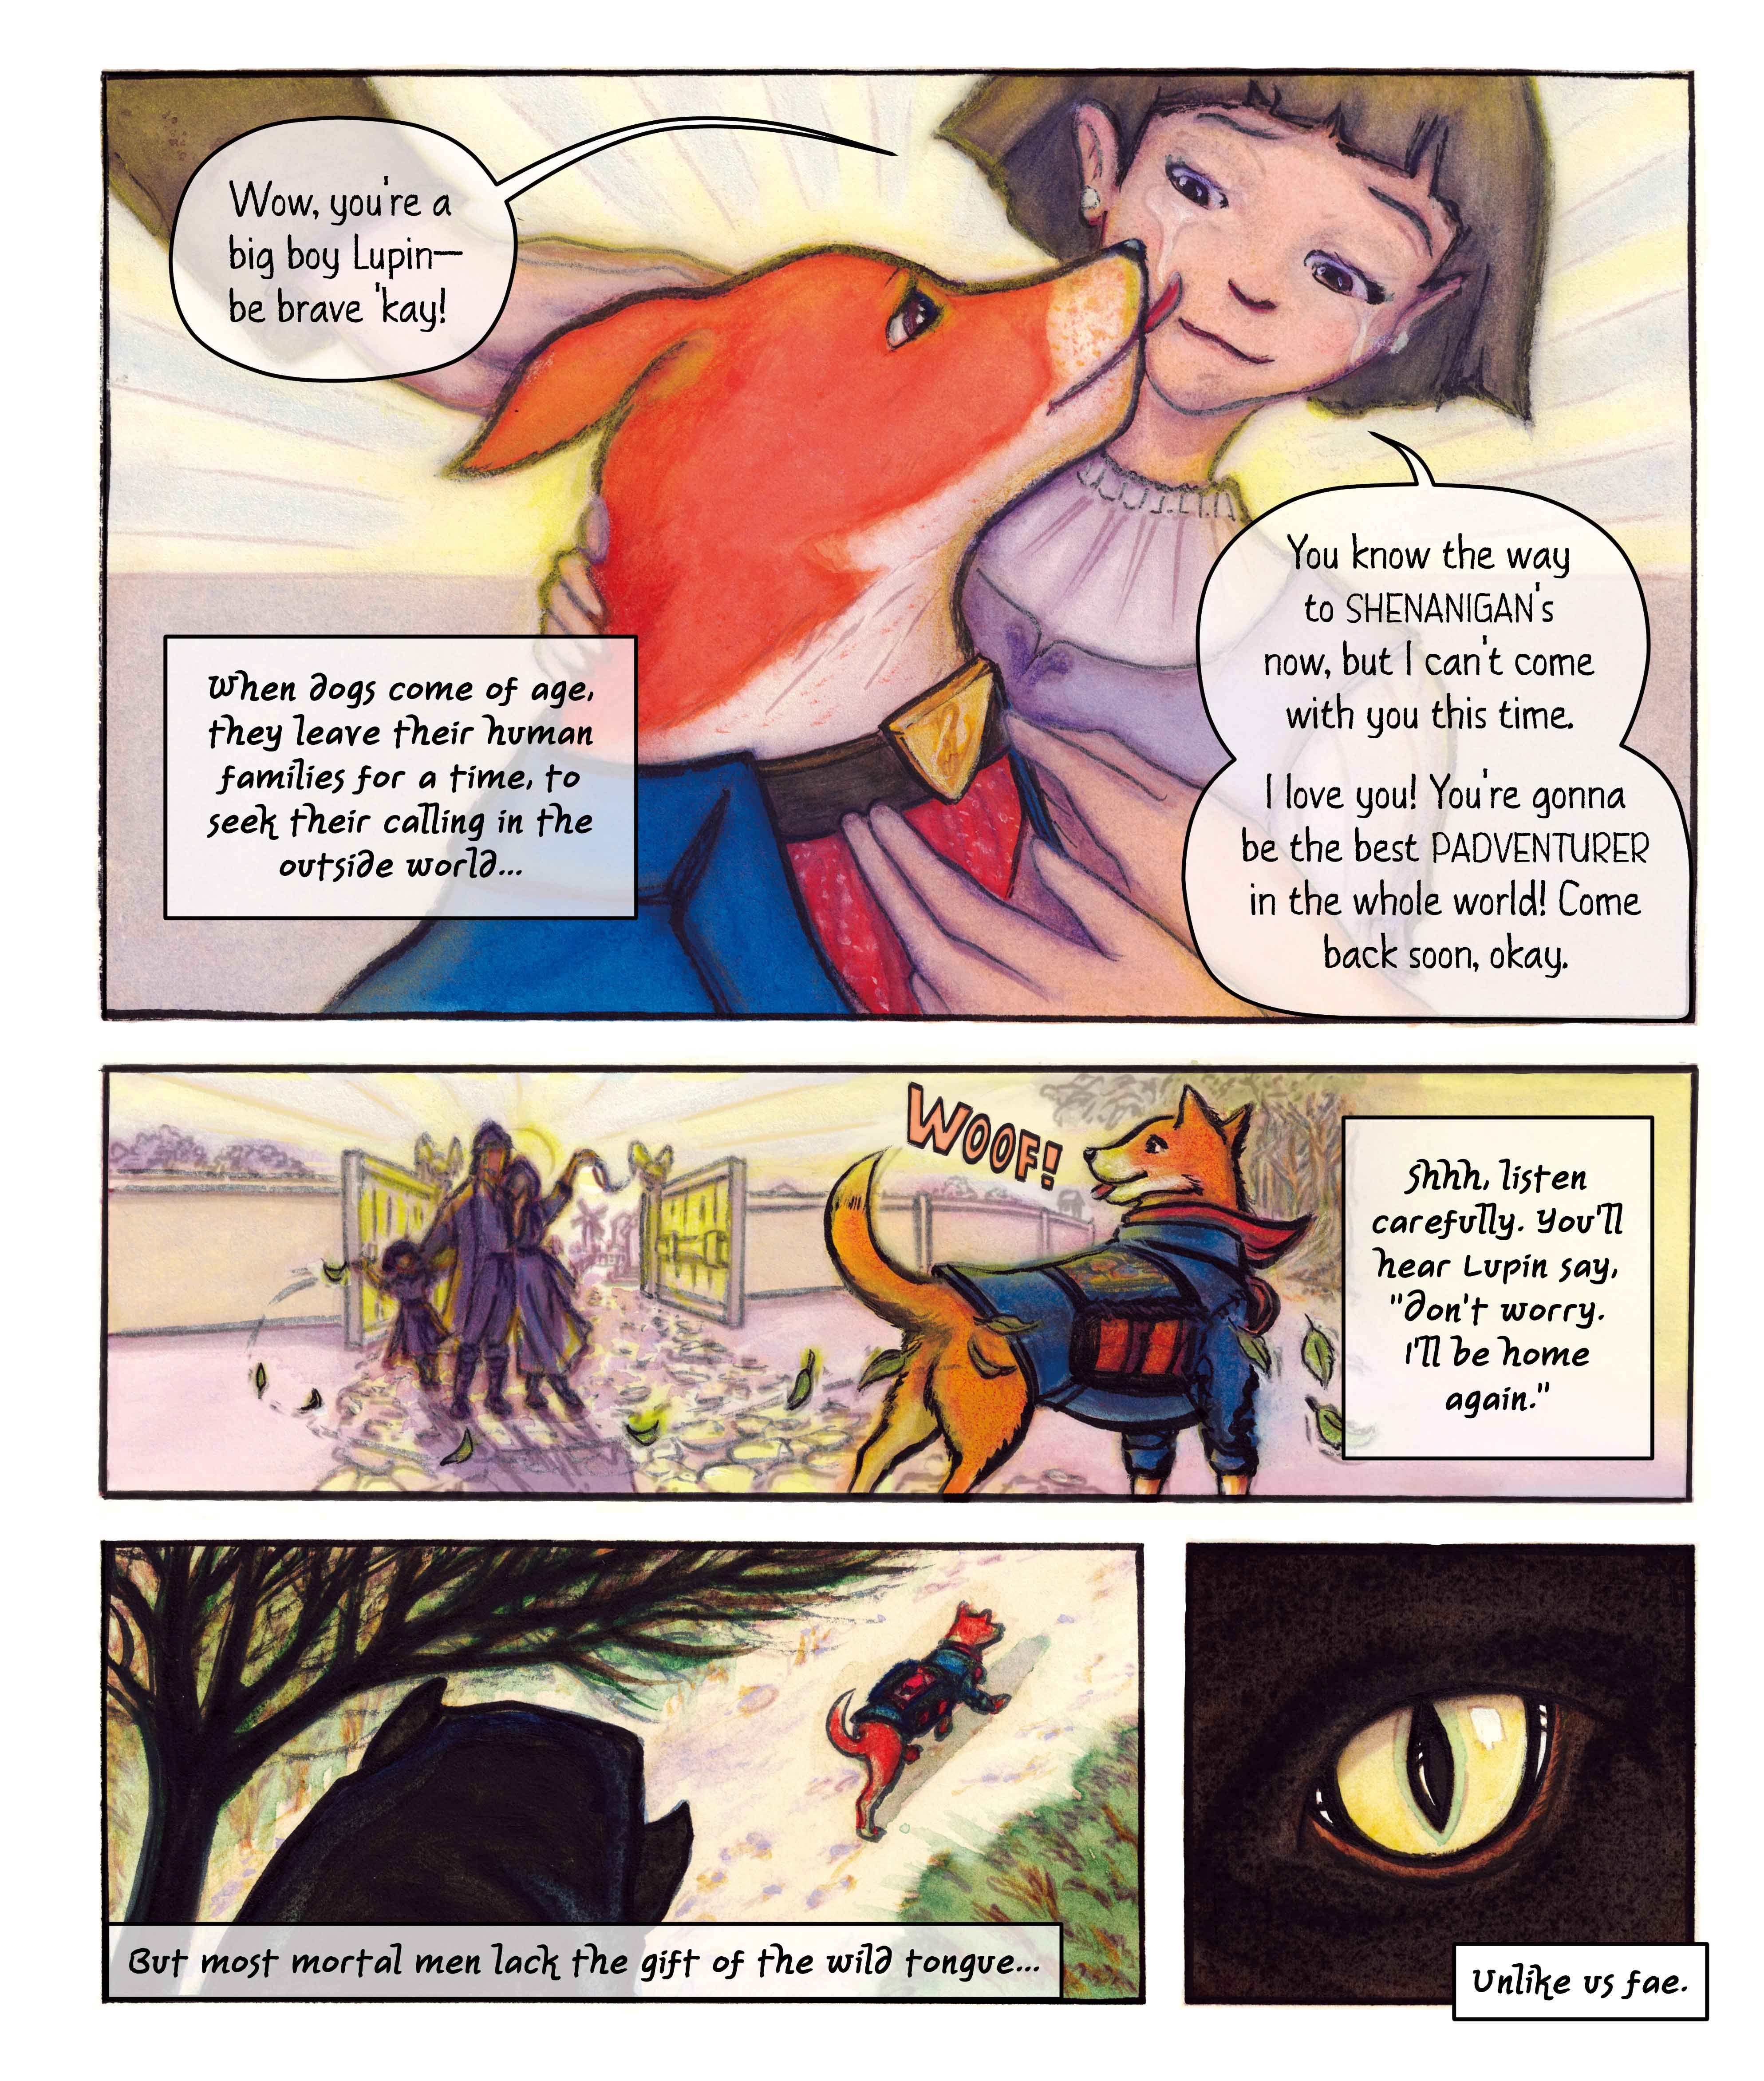
Page 2 panels and inks

Page 1 Updates
Mae govannen friends. Got some great feedback for page 1 and edited in some changes.
Notan Design
I learned this from Lee White. It’s a preliminary notan design where you start with the simplest design possible using basic geometric shapes (aim for <5). I overlayed it on top of my low res thumbnail for page 2. Next is to then design more detailed Mignola-style notans before doing the line work.
October has been busy for me IRL, so haven’t made much progress. However, I’ve been reading Tsutomu Nihei’s Tower Dungeon manga and picked up a few things. I like his sketchy style w/ few details because I have a sketchy style and aim to have simpler artwork to increase my output speed. Also, Nihei uses a flat 3 value system for his pages, something I will also incorporate, but w/ basic colors too. Aaand… inspiration from his fantasy dungeon architecture!
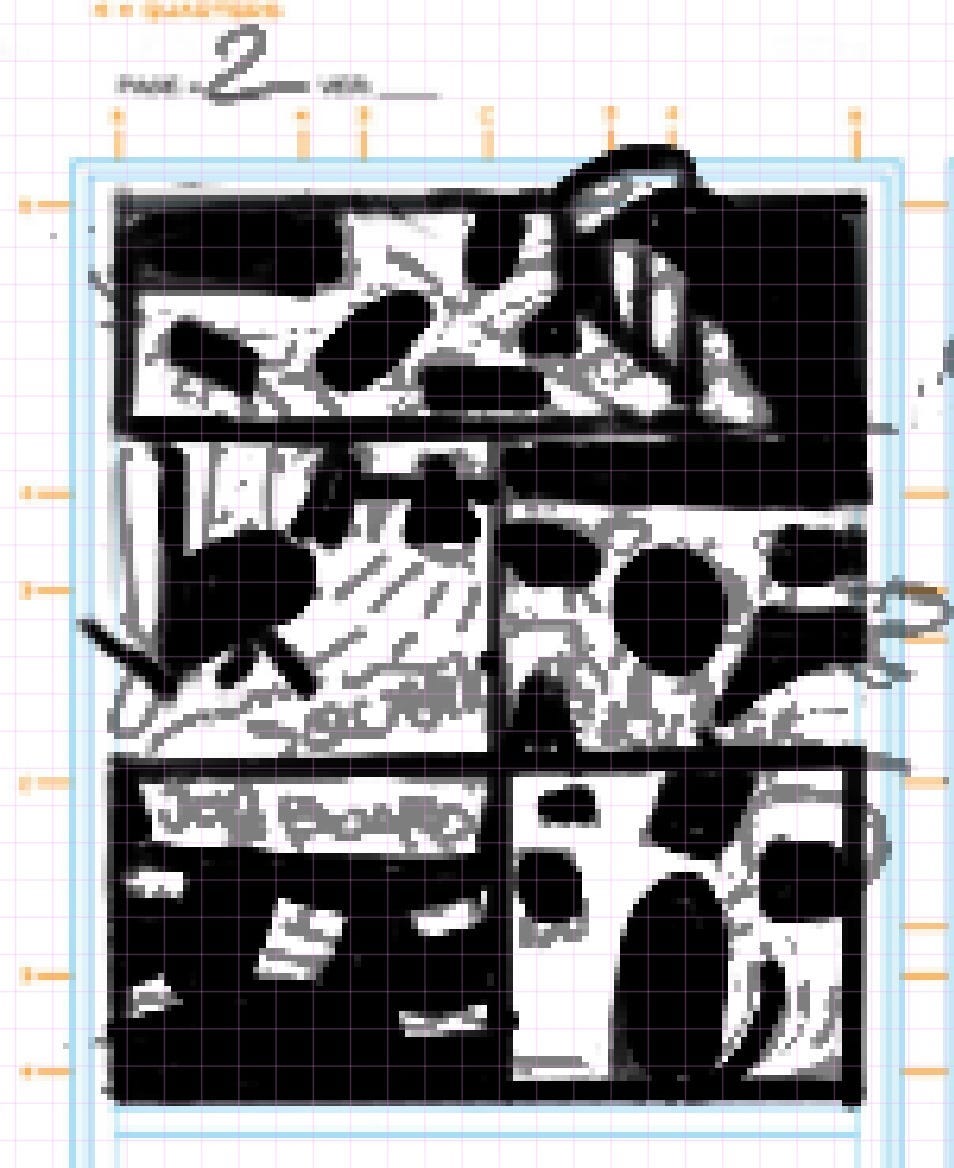
Image A - So here’s a WIP notan thumbnail for page 2 of my comic, Shenanigan’s Pack of Padventurers. I made it low rez to prevent me from fussing with the details too much.
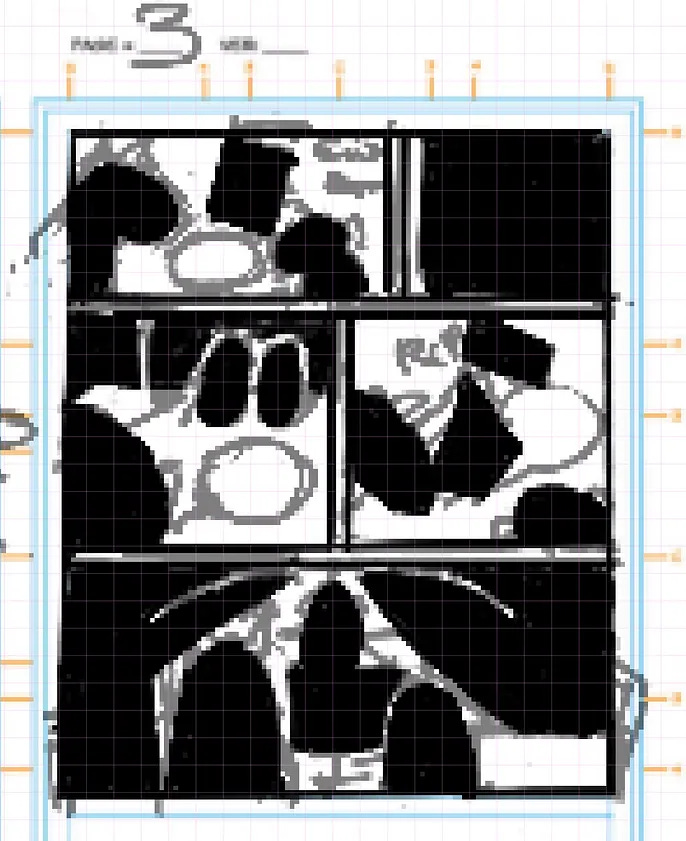
Image B - But later, I made a few notes for the notan thumbnail for page 2 of my comic. Need to scale panel 4 more narrow to have room for full body of Gus Gus in panel 6. Also a reminder to have clear foreground, mid ground, & background (added a dog foreground silhouette to panel 4). But this should be enough to start the pencils on an 11×17 bristol sheet now.


Page 2 Panel 1
Image A - Roughs for page 2 panel 1 of my comic. Lupin at the entrance of Shenanigan’s adventuring guild.
I switched to doing the pencils traditionally, been getting inspired by Daniel Warren Johnson. I’ll see if I can draw traditionally fast enough. If I’m too slow, i’ll go back to digital.
Image B - Pencils for page 2 panel 1 of my Shenanigan’s Pack of Padventurers comic. I think I’m going straight to inking this panel instead of doing pencils for the other panels.
Image C - Initial ink pass of page 2 panel 1. You’ll notice it’s a bit sketchy, but the lines will be made into a color hold and mostly covered over by watercolor. I will do a second pass of inks on top of the watercolor over the focal point areas though.
I also used a really dark pencil for the first rough pencils, which were difficult to erase (it won’t show up when scanned though). I’ll use a lighter pencil next time.


Side Quest
I found a cool way to make comic thumbnails. I have a fat lead mechanical pencil (1/2” thick) that I use for gesture drawing. I thought it was way too big to make thumbnails, but I tried it on a letter size sketchbook and it works great! At this size, I can capture just enough as to figure out what the image is, but not add detail.
So it’s technically not a “thumbnail” per say, because I can sketch it actual comic book size. But this allows me to sketch pretty quick, I did this study of 2 pages from the manga Tower Dungeon really quick.
I could stick to low rez digital thumbnails, but I much prefer sketching in my sketchbook.
Panel 2
Image A - Shenanigan’s Pack of Padventurers guild sign pencils. Good practice working w/ perspective grids (although it would’ve simple to distort it if I did it digitally).
Image B - Inking panel 2 - will have to shrink it to an inset of panel 1 because it goes goes beyond the safe zone.
Also, will have to skew the bottom text digitally because it doesn’t match the top text. While I’m at it, will also make the text an outline so i can fill it with a light color.


Panel 3
Image A - Next panel of Lupin walking inside the guild, but he has a dire phobia of squeaky & shiny floors.
Image B - Finished pencils for panel 3. I adjusted Lupin’s arms shorter.
Image C - Used Zebra ink brush pens for panel 3.


More Notans
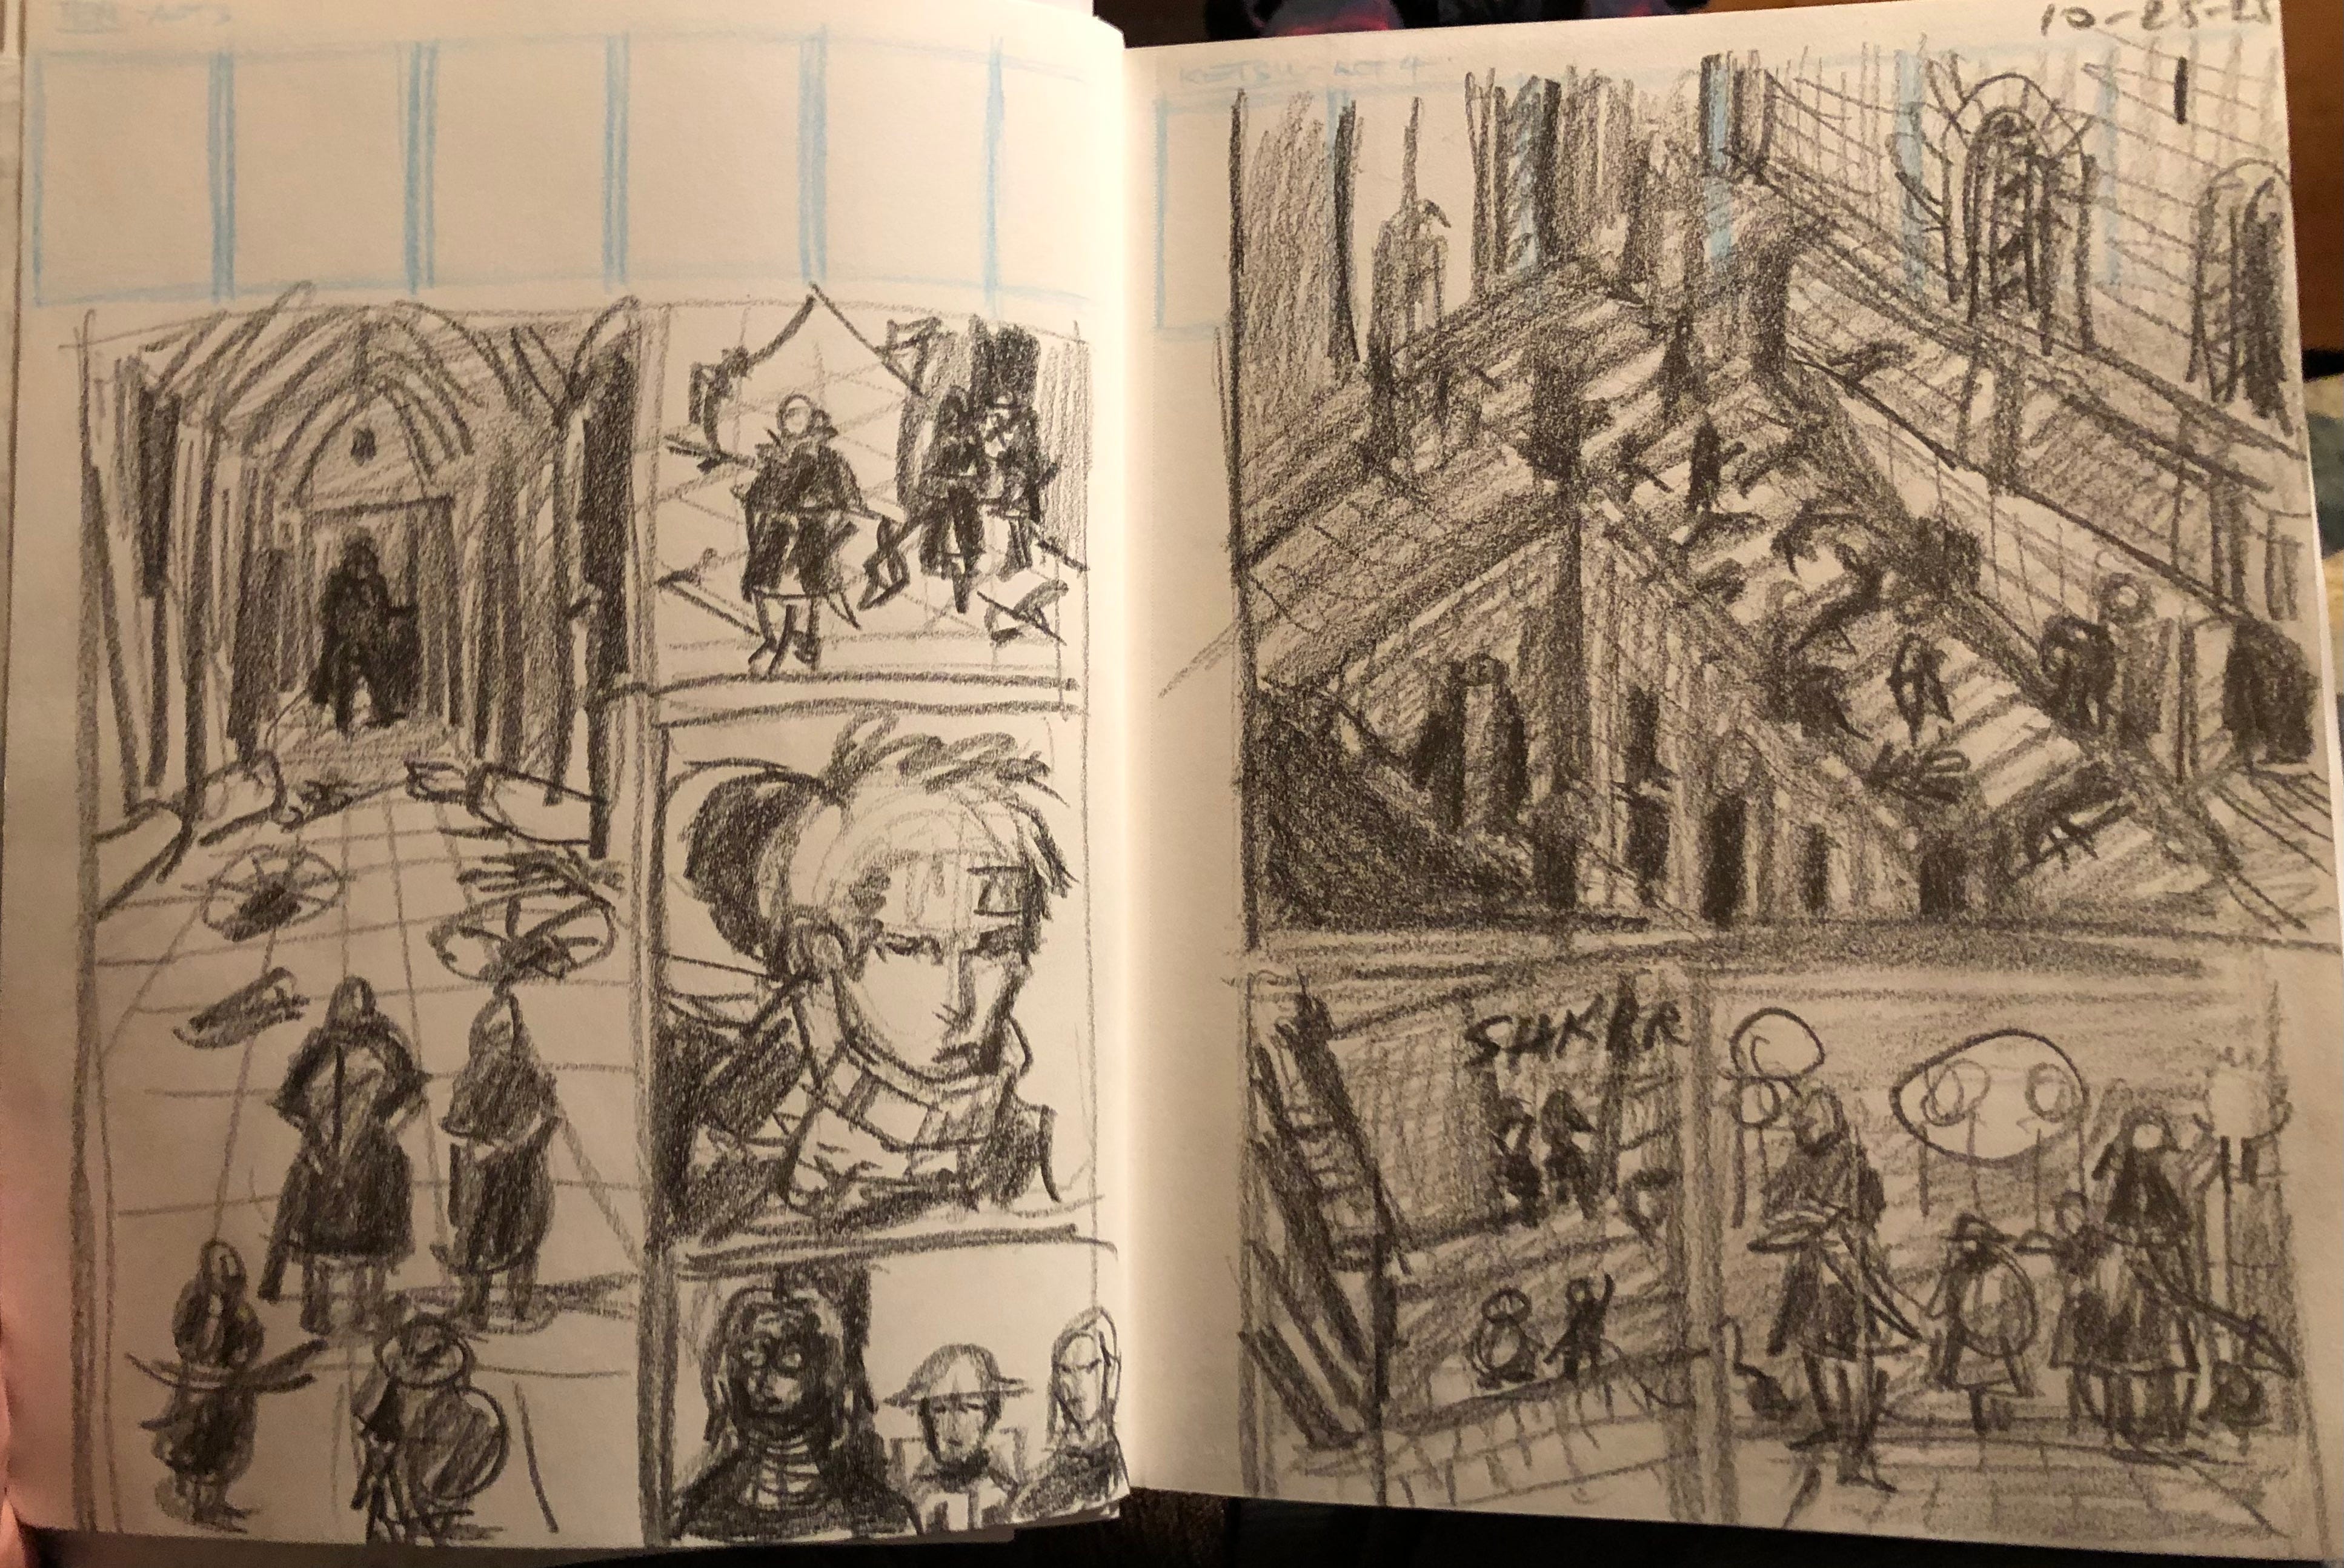
Been traveling, so didn’t bring my materials for working on my comic traditionally. So here are some basic geometric notan thumbnails for page 3 of my comic.
Panel 4
Image A - For this panel, I decided to use a fisheye perspective to get a paranoid feeling because Lupin has a phobia of shiny/slippery floors.
Image B - Pressed for time, so I try to get as much done during lunch. Changed Lupin to using basic forms to get a better sense of the fisheye perspective.
Image C - Managed to capture Lupin’s emotion within the fisheye perspective without too much distortion, but still need to add details and outfit.
Image D - Pencils for page 2 panel 4 of my comic in fisheye perspective.
If you looks below, also did a sketch of a simplified sketch of the adventurer’s guild banner. I found the current one to be too complicated to do on the dogs from most angles. In fact, I think I should remove the rectangle background?
Image E - Inks for page 2 panel 4 using Zebra brush pens and fine tip white Posca pens for cleanup. I noticed the fisheye perspective distortion for the carpet at back looks off, so I’ll edit that later digitally.
Anyone have recommendations for erasing pencils? I use white erasers and wait at least a day to erase after inking, but they still take off the inks on my bristol board paper (which requires re-inking).


That’s it for this lengthy update. I’m very interested in feedback if you have any. Also Happy Thanksgiving for those in the U.S.
Nai Eru mantuva le.